How to make resin keychains with vinyl?
Spray resin keychains with your design onto the keycaps let dry, sand down the keycaps, and add color and detail with an epoxy transfer or paint.
How to make resin keychains with vinyl cutter?
If you don’t have experience in using a vinyl cutter, you can follow the guide below. First, prepare your keychain and get an image you want to transfer to vinyl. You can use a high-quality image editing software to crop your design just the way you like it. You can also add text and other elements to your keychain design as long as they fit within the shape of the vinyl sticker.
How to make resin key chains with vinyl cutter?
If you have a vinyl cutter, you can cut the images into the resin keychains. The vinyl keychains come in different thicknesses, so you may need to practice a little to find the right settings for your vinyl to cut smoothly. Plus, the smaller images will be harder to cut, so you’ll need to invest in a higher-end cutting machine if you want to use intricate images.
How to make resin keychains with vinyl mold?
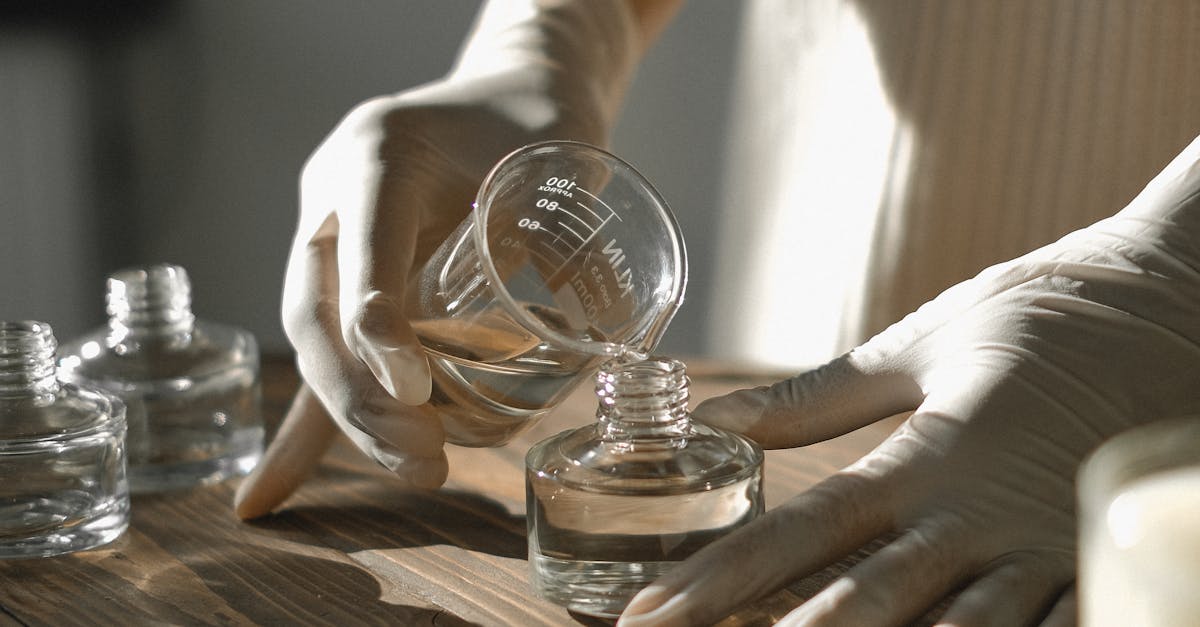
The first step to make a resin keychain is to make the key mold. In order to make key mold, you will need two key shapes. One is the top part of the key and the other is the part that you will stick onto the key ring. The key mold is not very complicated. It will just take some time to make the key mold. The key mold you need is a rectangular shape. It is best to make it slightly larger than the key shape. If you make it
Resin keychains with vinyl?
Resin keychains come in a variety of materials, including plastic, metal, wood, stone, and more. They are an environmentally friendly product as they do not use petroleum-based plastics and do not contribute to the generation of plastic waste. You can also choose from a variety of shapes and colors, or even get customized keychains made to fit your branding perfectly.